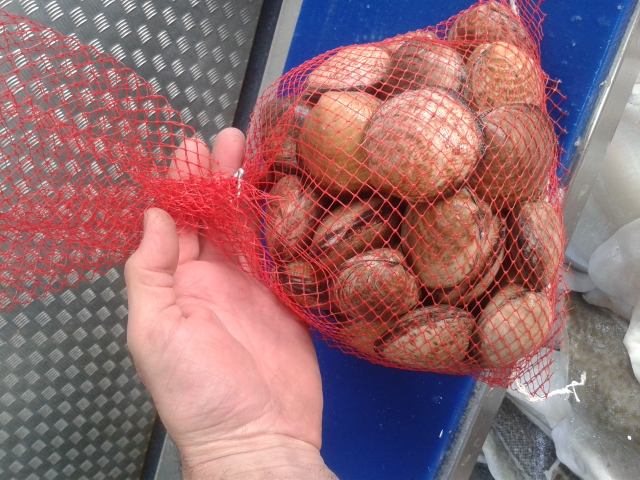
Fresh Clams & Razor Clams available to order when available:
As always – nobody can cook fish like my Mum 🙂
These are some of her specials. OOPS – I was planning to take a snap of Mum’s Fish & Chips but it looked so good I ate it before I got the camera out….
So on to next weeks chish & fips. 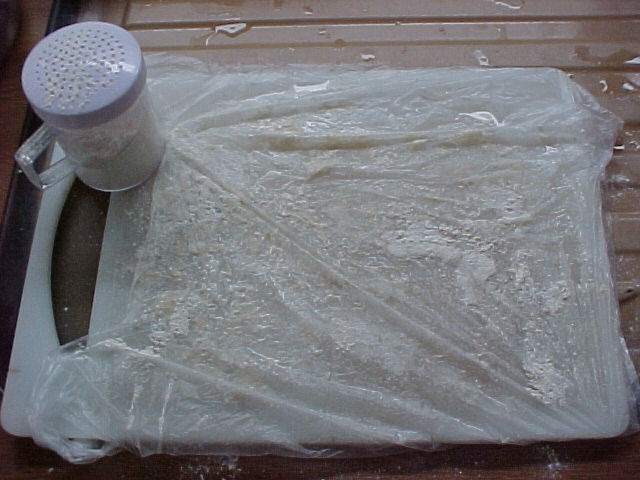 No fresh fish this week as I sold all of my stock this afternoon so Mum fished some out of the freezer. Pour a little oil in a large frying pan and heat up to temperature on a medium gas flame while you flour the fillets. A sheet of paper or poly bag is useful for keeping things tidy, just rinse each portion under cold water then sprinkle flour on both sides to stop it sticking to the frying pan otherwise it would break up as you try to move it..
About four minutes skin side down should get it going then turn it over for another three minutes  until it’s a mixture of creamy white and golden brown on both sides. This is a mediumsized fillet of haddock cut in half and it’s thin enough to cook quickly. If it was the thick end of a large haddock or from a good sized cod fillet then it would need a couple of minutes longer on each side to ensure it gets cooked right through.
To stop hot oil splattering all over the hob it’s a good idea to use a wire mesh splatter-guard to  cover up while frying. Any water from rinsing the fish will boil and crackle causing tiny specs of hot oil to splash out of the pan. A sheet of paper to act as a trivet for the splash guard saves on cleaning later.
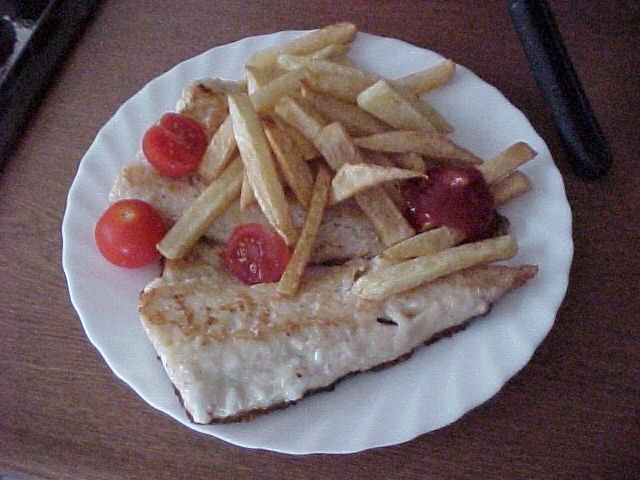 Eating fish and chips straight from the paper on a sunny day by the seaside is a special way to enjoy this delicious meal but on a cold may evening in 2013 there’s no better way to satisfy an appetite than Home-cooked fish and chips.
SMOKED HADDOCK – or smoked cod, pollock, hake – all delicious
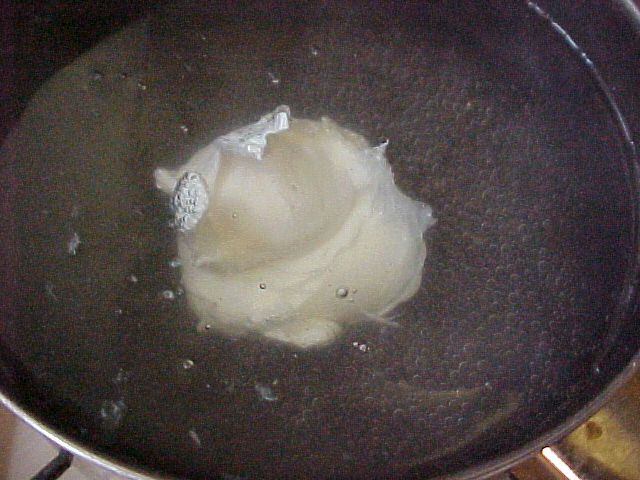
Poaching for eight minutes is the recommended method for smoked fillets. Microwave a mug of milk (for a small pan) for about one and a half minutes while you boil the kettle. Place the fish in a suitable saucepan that’s just big enough, or for a family meal a large deep frying pan is ideal. Then a dash of water in the pan so you can warm it up on a low heat. Place the fish in the pan, pour in the milk and top up with boiling water to just cover the fish and bring back up to the boil. As it starts to bubble turn the heat down so it just simmers then start your timer for the eight minutes. You now have time to prepare the icing-on-the-cake which is a poached egg. Some flavours go together perfectly and a poached egg atop smoked haddock adds that special ‘something’ to the meal. To prepare a poached egg that doesn’t look like it was cooked in the washing machine you should warm the egg before breaking it into the water. Straight out of the fridge means the egg will take more time to start cooking so giving it the chance to spread around the pan, adding a teaspoonful or vinegar and/or swirling the water with your pudding spoon & dropping the egg into the middle are regular techniques to solve the problem but what I usually do is to lower the full egg into the pan of near-boiling water using a pudding spoon and allowing it to warm for around 25 seconds. Much longer and it will stick to the shell. Lift out with the spoon then a pair of marigold gloves helps to stop burning your fingers as you crack the egg as gently and low to the water as you can. It should stay nice & tight but keep the water just below boiling to stop it bubbling up & disturbing the egg. You could fit three or four in one pan using this method without them sticking together.
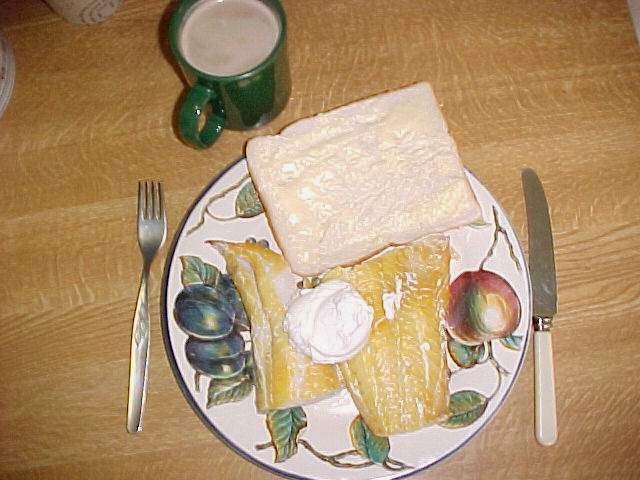
KIPPER FILLETS
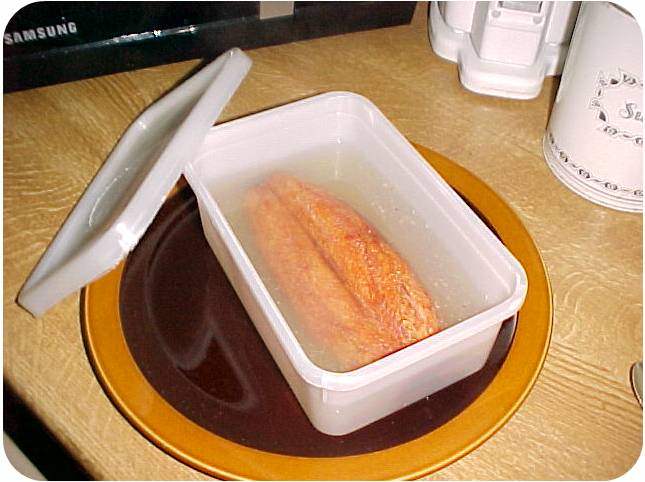
My filleted kippers are vacuum packed for freshness but are not ‘boil-in-the-bag.’ Remove them from the bag and place in a microwave container and cover with boiling water & a lid. Alternatives are simmered in a pan of water for five minutes or grilled very very gently for five mins.
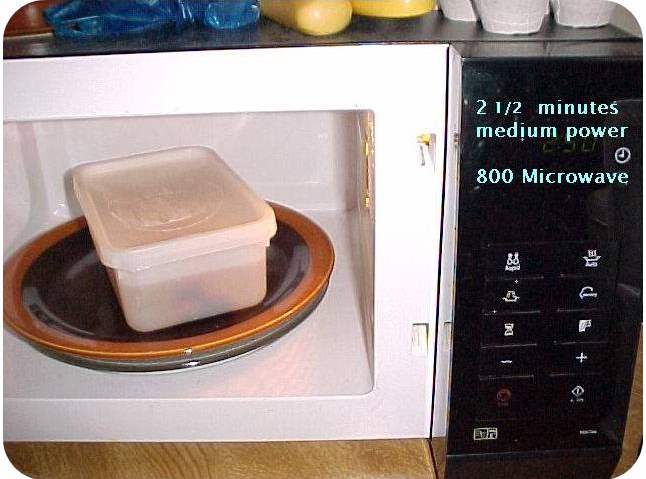
Microwaved for two and a half minutes on medium setting. Carefully drain away the water with a tap running to minimise kippery smells in the kitchen.
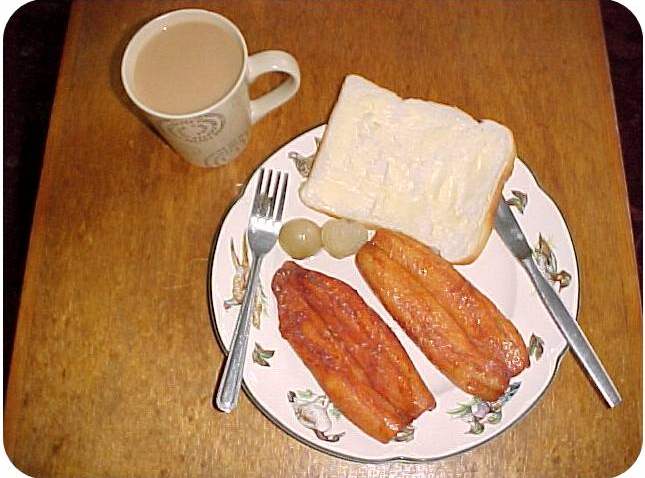
A deliciously tasty quick & easy meal ideally served with buttered bread, a pickled onion and cup of tea – you’ve already boiled the kettle and brewed your cuppa while the kippers cook ![]()
FREEZING FISH
If you’ve ever eaten anything with a particularly bad case of freezer burn, you know that it is something best avoided. Strange textures and weird flavors are never delicious! Though, luckily, freezer burn doesn’t affect the safety of food, it’s still best to prevent it from developing in the first place. Here are some ways to do just that!
Keep the Door Closed. Opening your freezer door too frequently and for too long will contribute to freezer burn; you want the temperature to be as steady as possible.
Don’t Put Warm Foods Into the Freezer. Warm foods will also make the temperature fluctuate inside the freezer, and in your food. That’s not a good thing! Let your food cool before sticking it in the freezer to prevent the development of freezer burn.
Remember That Food Doesn’t Last Forever. Freezing food will extend its shelf life, but that doesn’t mean it’ll keep for years. Try to use your frozen food within a reasonable time frame. You can find a helpful guide to the shelf life of frozen food here.
Mind Your Packaging. Though you should leave a little bit of room for the food to expand when it freezes, you want to have as little air as possible in your packaging. Air exposure = freezer burn! You could invest in a Vacuum Sealer. Though a pricier option and maybe more suited to commercial use in hotels and restaurants, vacuum sealers work wonders to prevent freezer burn by removing air from the package, some domestic sealers are coming on the market at reasonable prices.
Wrap Your Food Up Twice. Though certainly a more wasteful option, you can wrap it in aluminum foil, and then place it in a plastic bag, to combat freezer burn.
For Salmon which does freeze really well, when wrapping it squeeze the air from the bag and twist the full length of the top end of the bag up tight so you can tie a knot or fit a wire twist/freezer-clip near the top, then smooth the bag across the top of the fish to slide away any remaining bubbles. Finally flatten out any folds if the fish is scrunched up and lay it on a flat plastic lid. You can then bend the lid to release it. Your salmon will come out of the freezer a nice shade of red rather than a dull pink and looking almost as good as when it was first cut!
Industrial freezer plants freezethe filets and shellfish on large flat stainless plates (sometimes in a blast freezer) then it is put in wire baskets and dipped in cold water which quickly freezes giving the fish a protective ‘glaze’ coating before it is packaged and stored in large cold-stores. Unscrupulous merchant have been know to glaze the fish twice to add weight so beware if you thaw a shop-bought fillet and find lots of water in the bowl. The temperature in cold-stores is kept at a constant minus 18 to minus 20 degrees and this will keep the fish in good condition for a long time. The cardboard boxes are supplied from the bax company with a year’s hence date, i.e. tweleve months to the day from when the box was made.
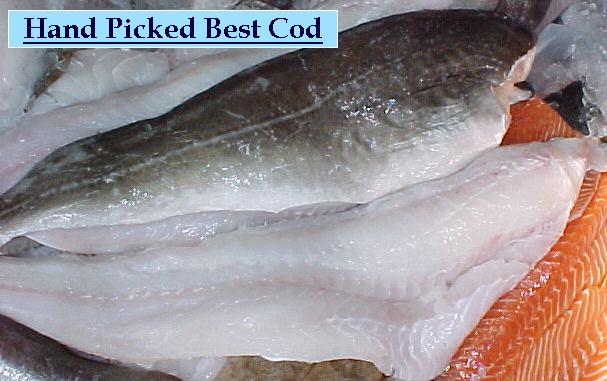
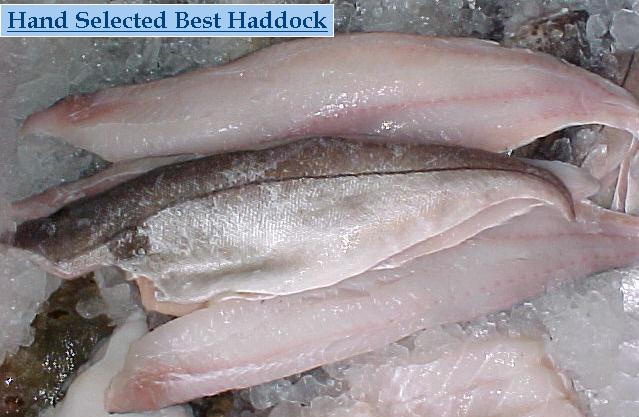
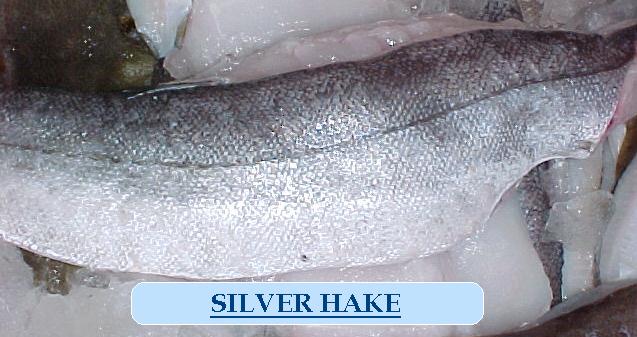
Here are some examples of fresh fillets
This one is fresh cod fillet on ice, notice the faint white line running along the side:
Fresh haddock has a black line, the lateral line, down the side and a dark patch just behind where the gill covers were. This is often called St Peter’s thumbprint from where he picked it out of the nets to feed the Five Thousand!
Silver hake, very similar to haddock but a longer thinner fillet with a grey lateral line and softer flesh.
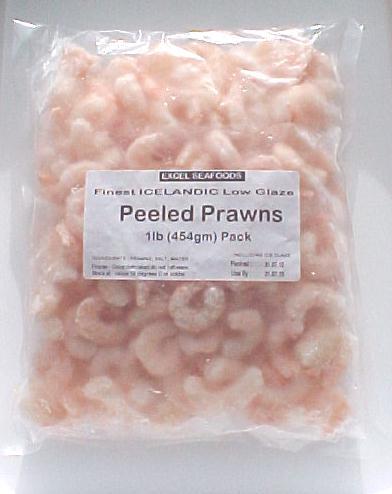
I also carry frozen 1lb packs of peeled prawns. Bigger than you usually see and low ice glaze.